Follow this simple steps:
You will find this option in WordPress Dashboard -> Structured Data -> Global -> General Settings -> Which Page schema you want just select/check this option like below the screenshot.
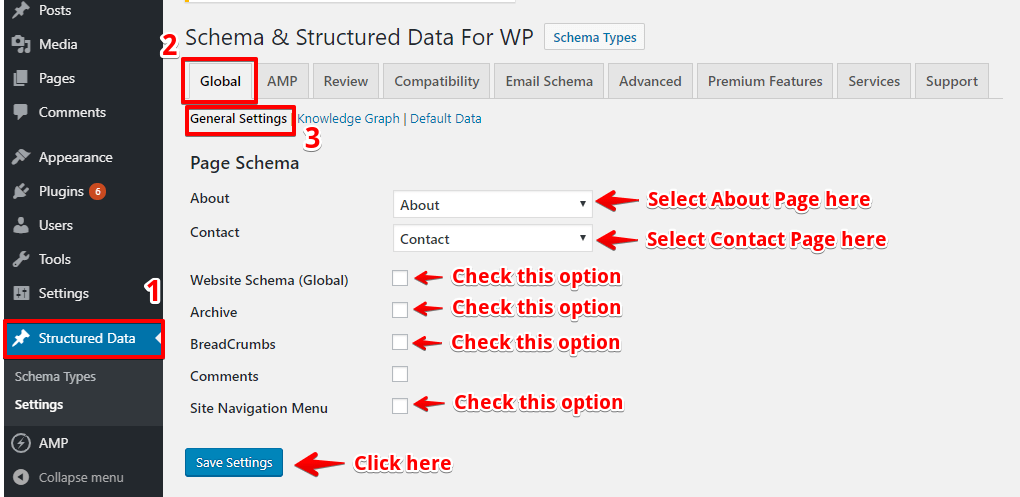
About: In this option, you need to select About Page once you select this page it will generate schema markup for this page.
In the source code, JSON schema markup will be added like below the screenshot.

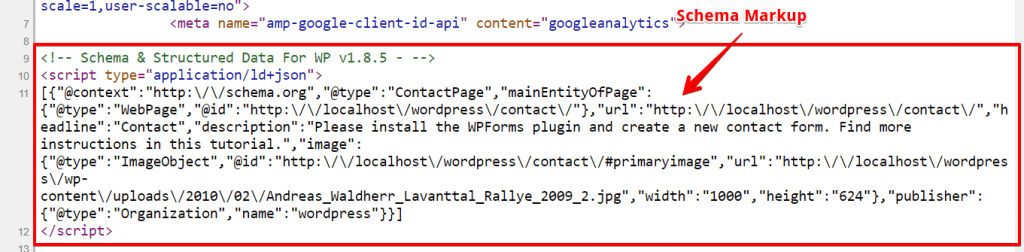
Contact:In this option, you need to select Contact Page once you select this page it will generate schema markup for this page.
In the source code, JSON schema markup will be added like below the screenshot.
Website Schema(Global): If you check this option it will display Website Schema markup.
Sitelinks Search Box:If you check this option it will display Sitelinks search box schema markup.

In the source code, JSON schema markup will be added like below the screenshot.

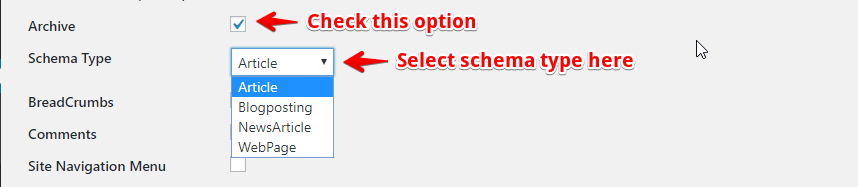
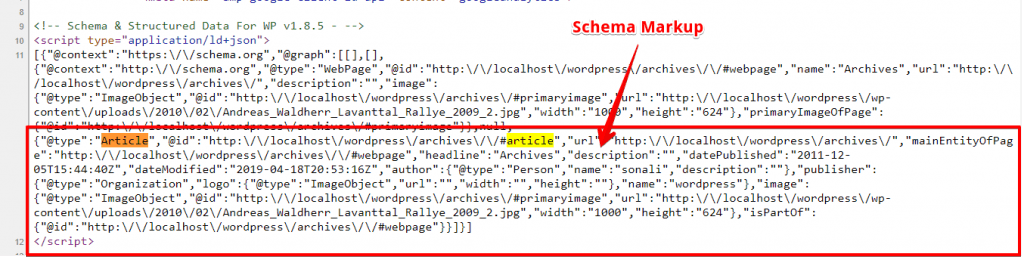
Archive: If you want schema markup on Archive page then check this option and select schema type to display on archive page like below the screenshot.
In the source code, JSON schema markup will be added like below the screenshot.
BreadCrumbs: If you want schema markup on BreadCrumbs then check this option.
In the source code, JSON schema markup will be added like below the screenshot.

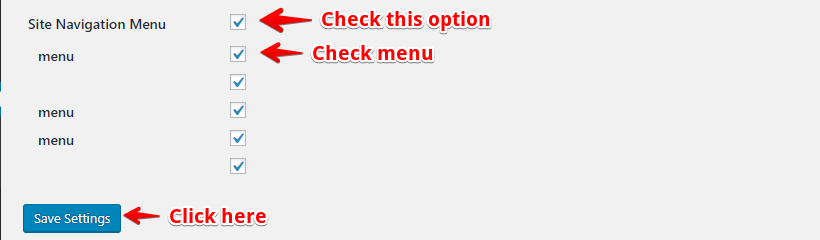
Site Navigation Menu:If you want schema markup on Site Navigation Menu then checks this option and also check the menu option.
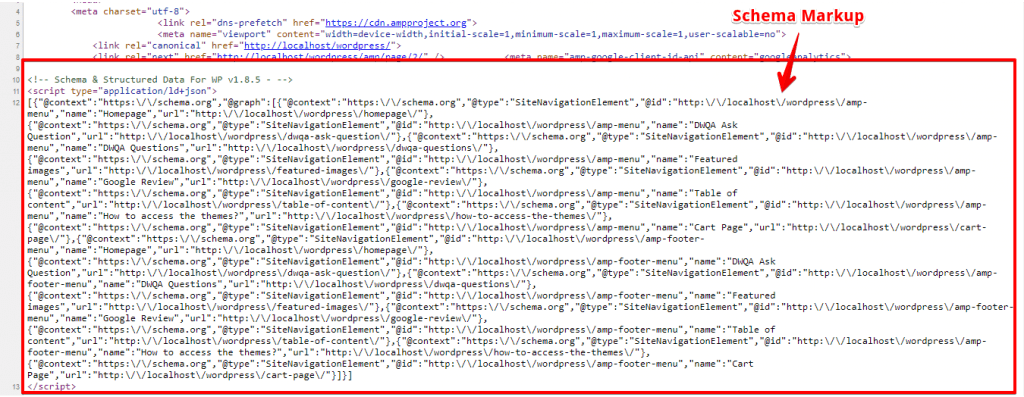
In the source code, JSON schema markup will be added like below the screenshot.
That’s it for this tutorial!
We hope it helped you. If you have any feedback or questions or do you want us to create compatibility for any other schema type which isn’t listed in our plugin then you can request us we will surely implement it as soon as possible.
Just contact us here and we are always available for you.